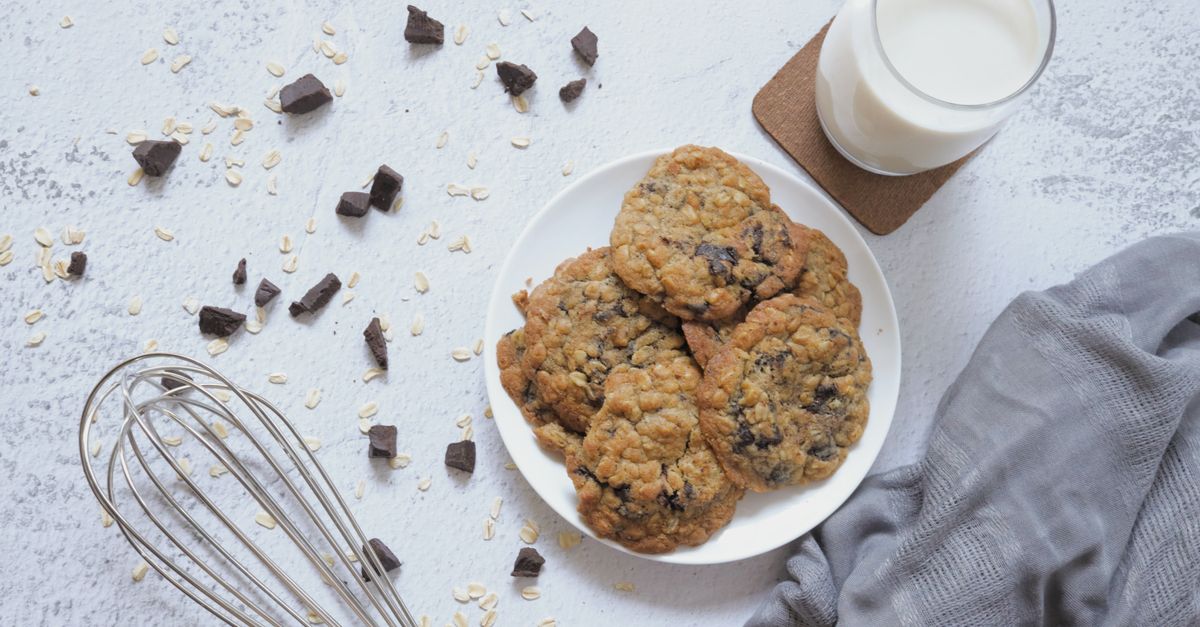
Why Your Homemade Cookies Are Flat (And The Simple Fixes That Guarantee Perfect, Puffy Results Every Time)
There’s nothing quite as disappointing in the kitchen as pulling a batch of cookies from the oven, only to find they’ve spread into flat, greasy disks rather than the plump, chewy treats you envisioned. I’ve been there more times than I care to admit. For years, I blamed my oven, the recipe, or even my baking sheets, but the truth is, the culprit is almost always a combination of subtle, often overlooked factors. It’s not just about mixing ingredients; it’s about understanding the science behind baking. What I’ve learned through countless trials (and many flat failures) is that a few key adjustments can transform your cookie game entirely. This isn’t about complex techniques; it’s about nailing the fundamentals that most home bakers unwittingly overlook.
Key Takeaways
- Ensure your butter is truly softened, not melted, and your sugar-butter creaming process is light and airy, not overmixed.
- Chill your cookie dough for at least 30 minutes to solidify fats and prevent premature spreading.
- Always use parchment paper or silicone mats; greased baking sheets can promote excess spreading.
- Verify your oven temperature with an external thermometer to prevent underbaking and flat cookies.
- Measure your flour precisely using the scoop and level method, as too little flour is a primary cause of spreading.
The Butter Paradox: Softened vs. Melted (And Why It Matters More Than You Think)
Most cookie recipes start with “softened butter,” but what does that really mean? For years, I just pulled butter from the fridge an hour before, assuming it was good enough. The mistake I see most often, and one I made myself, is using butter that’s either too cold or, worse, too warm and partially melted. When butter is too cold, it won’t cream properly with sugar, leading to a dense dough. When it’s too warm or melted, it loses its emulsifying properties entirely. This is critical because the creaming process—beating butter and sugar together—isn’t just about combining them. It’s about incorporating tiny air pockets into the fat. These air pockets are what give your cookies lift and a light texture. If your butter is too soft or even slightly oily, those air pockets collapse, and your cookies lose their structural integrity before they even hit the oven, leading to excessive spreading.
What changed everything for me was realizing that perfectly softened butter is cool to the touch, still somewhat firm, but yields easily to a gentle press, leaving an indentation. It should hold its shape. My trick now is to cut cold butter into tablespoon-sized pieces and let them sit on the counter for about 20-30 minutes, or until they reach this ideal consistency. If I’m in a rush, a quick 10-second blast in the microwave (or even two 5-second blasts, checking in between) can help, but you have to be vigilant to avoid melting. Once your butter is perfectly softened, cream it with your sugar on medium-high speed for a full 2-3 minutes until the mixture is visibly lighter in color and fluffy. This aeration is the foundational step for a puffy cookie; skimping on it is a guaranteed path to flatness.
The Underrated Power of Chilling Your Dough (And Why It’s Non-Negotiable)
Skipping the chilling step is perhaps the most common mistake home bakers make, and it’s a direct ticket to flat cookies. I used to think it was an optional suggestion, a mere formality. Why bother waiting when you could be eating fresh cookies sooner? The truth is, chilling your cookie dough is a secret weapon that does three crucial things. First, it solidifies the fats in the butter, making them less prone to melting quickly in the oven. When cold fat takes longer to melt, the cookie has more time to set its structure before spreading too much. Think of it like a tiny architectural framework holding up your cookie. Second, chilling allows the flour to fully hydrate. This means the flour absorbs more moisture, tightening the dough and preventing excessive gluten development, which can lead to a tough cookie. Third, chilling concentrates the flavors, giving you a more delicious, well-rounded cookie. I’ve found that a minimum of 30 minutes in the refrigerator makes a noticeable difference, but an hour or even overnight can be transformative, especially for richer doughs like chocolate chip.
To implement this effectively, simply scoop your dough balls onto your baking sheet (or onto a plate if you’re chilling a larger batch to scoop later) and pop them in the fridge. My personal standard is a solid hour for most cookie doughs. If a recipe calls for dropping dough straight onto a hot sheet, ignore it and chill. The difference in texture and rise is stark. For maximum puffiness, you can even freeze individual dough balls for 10-15 minutes just before baking. This gives them an extra burst of coldness, delaying the melt and promoting that beautiful dome.
The Greased Sheet Trap: Why Parchment Paper Is Your Best Friend
For years, I stubbornly baked directly on greased baking sheets, thinking I was being efficient. And for years, my cookies were consistently flat. The reason? A greased baking sheet, whether with butter, oil, or non-stick spray, creates a slick surface that essentially lubricates the dough, encouraging it to spread out more rapidly. While a non-stick surface is important for easy removal, too much slipperiness is detrimental to a puffy cookie.
The game-changer for me was embracing parchment paper or silicone baking mats. Both provide a non-stick surface without the excessive grease. Parchment paper offers a slight grip that helps the cookie dough hold its shape initially, preventing it from spreading too quickly before it has a chance to set. Silicone mats, while a bit more expensive upfront, are reusable and offer an even better grip and consistent heat distribution. In my experience, silicone mats produce cookies with a slightly chewier base, while parchment yields a crispier edge. Either way, they are far superior to a greased metal sheet for achieving optimal cookie thickness. Now, I never bake cookies without one or the other. This simple switch not only reduced spreading but also made cleanup a breeze.
Your Oven Temperature Might Be Lying (And How to Trust It Again)
An inaccurate oven temperature is a silent saboteur of many baking projects, especially cookies. My oven, like many others, runs about 25 degrees cooler than its dial indicates. For years, I struggled with recipes taking longer to bake, and my cookies always coming out flat and underdone in the center, or burned on the edges. The reason for flat cookies in an underheated oven is simple: if the oven isn’t hot enough, the butter in your dough melts too slowly and gradually, giving the cookies ample time to spread before the flour and eggs have a chance to set their structure. Conversely, if your oven is too hot, the outside of the cookie might set too quickly, preventing it from spreading at all, resulting in a dense, uncooked interior. It’s a delicate balance.
The only reliable solution I’ve found is investing in an oven thermometer. These inexpensive gadgets clip onto your oven rack and provide an accurate reading of the actual internal temperature. I now use mine religiously. If your oven is off, you can adjust your dial accordingly (e.g., if it reads 325°F when set to 350°F, set it to 375°F next time). Preheat your oven for at least 20-30 minutes after it reaches the desired temperature, as ovens can fluctuate. This ensures the entire cavity is evenly heated. Baking at the correct, consistent temperature ensures the butter melts at the right pace, allowing the leavening agents (baking soda/powder) to do their job and create that beautiful, puffy rise before the cookies spread too much. This single piece of equipment saved me from countless baking frustrations.
The Flour Factor: The Scoop and Level Method Is Your Friend
Baking is a science, and precision in measuring ingredients, especially flour, is paramount. I learned this the hard way, with many batches of flat, sad cookies. The mistake almost everyone makes, including my past self, is simply scooping flour directly from the bag with a measuring cup. This compacts the flour, meaning you end up with significantly more flour than the recipe intends, which can lead to dense, dry cookies. More critically for flat cookies, however, is the opposite: accidentally using too little flour. If your dough doesn’t have enough flour, it simply doesn’t have the structural components to hold its shape, causing it to spread excessively as the butter melts.
The correct way to measure flour, which guarantees consistent results, is the scoop and level method. First, fluff up the flour in its bag or container with a spoon. Then, gently spoon the flour into your measuring cup until it’s overflowing. Finally, use the flat back of a knife or a straight edge to level off the excess flour, ensuring a precise measurement. Alternatively, for ultimate accuracy, use a kitchen scale to measure flour by weight (usually grams). Many professional recipes now include weight measurements for this very reason. Once I adopted the scoop and level method (and occasionally the scale), my cookies gained a consistent, lovely thickness that I never achieved before. This small change in technique makes a huge difference in the overall texture and structure of your cookies.
Frequently Asked Questions
Q: My cookies are still flat even after chilling the dough. What else could be wrong?
A: Even with chilling, other factors can cause flatness. Re-check your butter consistency (make sure it’s softened, not melted), verify your oven temperature with an oven thermometer, and ensure you’re using parchment paper or silicone mats instead of greasing your baking sheet. Also, accurately measure your flour using the scoop and level method, as too little flour is a common culprit.
Q: Can using too much butter make cookies flat?
A: Yes, absolutely. While butter is essential for flavor and texture, using too much butter relative to flour can make your dough too soft and greasy, causing it to spread excessively in the oven. Always stick to the recipe’s specified amounts and consider reducing the butter by a tablespoon if you consistently get flat cookies, especially if you live in a warm climate.
Q: Does the type of sugar affect cookie spread?
A: Yes, it can. Granulated sugar tends to promote more spread and a crispier cookie, while brown sugar adds moisture and acidity, which can lead to a chewier, slightly thicker cookie. Using a higher ratio of granulated sugar might contribute to flatter cookies, particularly if other factors like warm butter or insufficient flour are also present.
Q: Why do my cookies spread even when I use baking powder or baking soda?
A: Baking powder and baking soda are leavening agents that create gas bubbles, giving cookies their rise. However, if other conditions aren’t ideal (e.g., butter is too warm, dough isn’t chilled, oven temp is off, or too little flour), these agents can’t effectively create and hold structure before the cookie spreads out. They need a stable dough and proper heat to do their job efficiently.
Q: How full should I make my baking sheet with cookie dough?
A: Give your cookies ample space to spread. I recommend placing dough balls at least 2 inches apart on the baking sheet. Overcrowding can trap steam, affecting how cookies bake, and can also lead to them merging into one giant, flat cookie. Bake in batches if necessary, rather than cramming too many onto one sheet.
Conclusion
Achieving that perfect, puffy cookie isn’t a stroke of luck; it’s the result of understanding and meticulously executing a few key steps. From the seemingly minor detail of perfectly softened butter to the non-negotiable chilling of your dough, each element plays a critical role in preventing those dreaded flat disks. By using parchment paper, verifying your oven’s true temperature, and measuring your flour with precision, you’re not just following a recipe; you’re mastering the fundamental science of baking. Stop blaming your oven and start implementing these adjustments. The transformation in your cookies will be immediate and incredibly satisfying. Go forth, bake, and enjoy those beautifully plump, perfectly puffed cookies you deserve!
Written by Clara Ellison
Home Decor & Styling
With two decades in interior design, Clara brings an expert eye for aesthetics and spatial harmony.
You Might Also Like

The Hidden Cost of a 'New' Dishwasher That Nobody Talks About (And Why I Bought Used Instead)
Discover the hidden costs of new dishwashers beyond the price tag, including installation, detergent inefficiency, and the surprising benefits of buying used.

Why Your Laundry Dries Stiff, Not Soft (And What Actually Works for Real Comfort)
Tired of crunchy towels and scratchy clothes? Discover the hidden culprits behind stiff laundry and effective solutions for lasting softness, from Clara Ellison.

Why Your Home Still Feels Stale (Even After Cleaning) — And What Actually Works for Real Freshness
Discover why your home's air quality remains stale despite regular cleaning, and learn effective, non-obvious strategies for true, lasting freshness.